Check NSP Scholarship 2026-27 eligibility, required documents, online application steps, important dates, and application status.
Thank you for reading this post, don't forget to subscribe!August 30, 2026|CoreSignal
If you’re a student in India looking for financial help with your education, chances are you’ve heard of the National Scholarship Portal (NSP) — the government’s one-stop platform hosting 140+ scholarships, from Class 1 all the way to PhD level. But between OTR numbers, Aadhaar seeding, eKYC, and DBT transfers, the actual process can feel more confusing than it needs to be. Here’s a clear walkthrough of exactly how to apply, step by step.
What is the National Scholarship Portal?
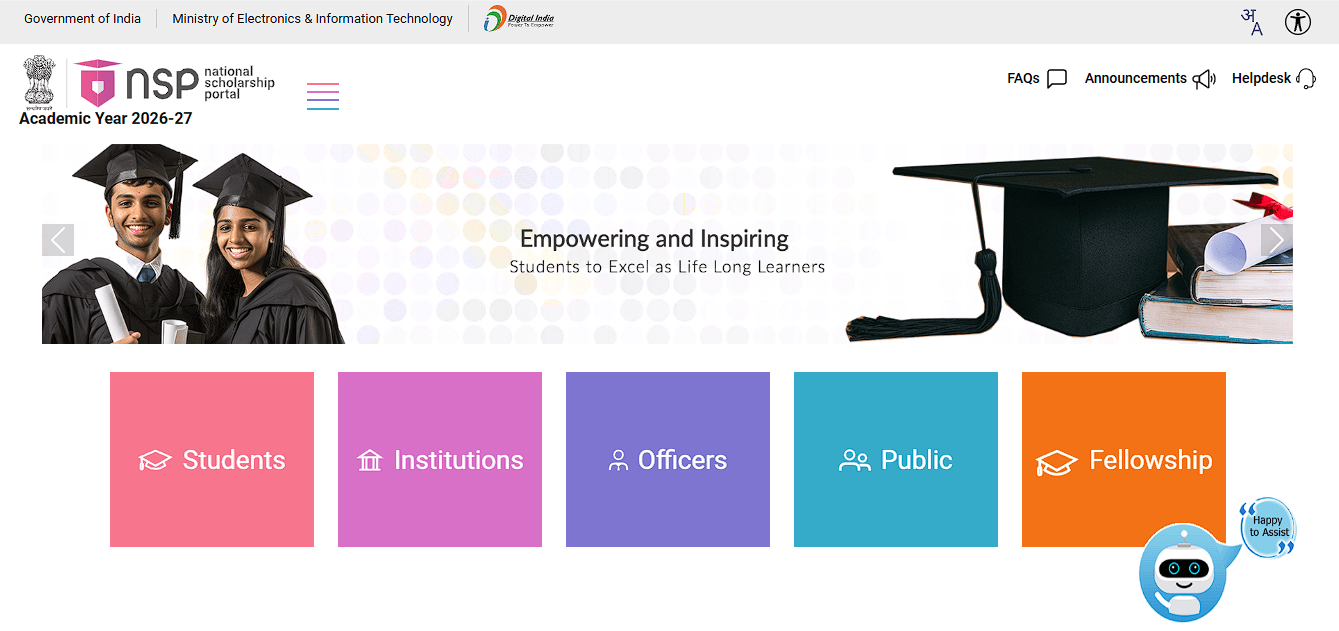
NSP is a central platform, developed under the National e-Governance Plan and operated by the Ministry of Electronics & Information Technology (MeitY), that brings together scholarships from multiple central ministries, departments, and state governments under one system. Instead of applying separately to each scheme’s own office, students register once and apply for whichever schemes they’re eligible for through a single portal — NSP.
Scholarships are disbursed through Direct Benefit Transfer (DBT), meaning the money goes straight into your Aadhaar-linked bank account, tracked through the Public Financial Management System (PFMS) — cutting out intermediaries and reducing the chances of funds going missing along the way.
Key dates for 2026-27
The registration process for the current academic year opened on June 1, 2026, and the deadline to apply for most central scholarships is October 31, 2026. This deadline is generally firm, so it’s worth not leaving your application to the last week — especially since document verification and technical glitches can eat into your remaining time if you wait too long.
Who can apply?
- Indian nationals only
- Students studying from Class 1 through postgraduate and PhD levels
- Enrolled in a government-recognized institution or university
- Specific eligibility (income limits, category, course type) varies scheme by scheme — the portal actually helps here, suggesting relevant scholarships based on your profile once you’re registered
Worth knowing: you can apply for multiple scholarships as long as you meet each one’s individual eligibility criteria, but you can generally only receive one government scholarship at a time.


The big change for 2026-27: One-Time Registration (OTR)
The single biggest shift in how NSP works now is the One-Time Registration (OTR) system. Instead of registering fresh every single year — which used to be the norm — you now register just once, get a unique 14-digit OTR ID linked to your Aadhaar, and reuse that same ID for every scholarship application for the rest of your academic career. The 2026 portal also requires Aadhaar-linked mobile verification and face authentication as part of registration, specifically to reduce fraudulent applications.
Step 1: Complete your One-Time Registration (OTR)
- Visit NSP and click on “Apply for One Time Registration (OTR).”
- If you’re a first-time user, click “Register Yourself.”
- A page with registration guidelines will open — read through it carefully before proceeding, then click “Next.”
- Enter your mobile number and request an OTP.
- Enter the OTP received, fill in the captcha, and click “Verify.”
- Complete the eKYC Update step by choosing one of the available verification options.
- If you have an Aadhaar card, enter your Aadhaar number and request an OTP for it as well.
- Enter that OTP, fill in the captcha again, and click “Verify” to complete face authentication and eKYC.
- Once successful, you’ll receive your 14-digit OTR number — save this carefully, since it’s your permanent ID for every future NSP application.
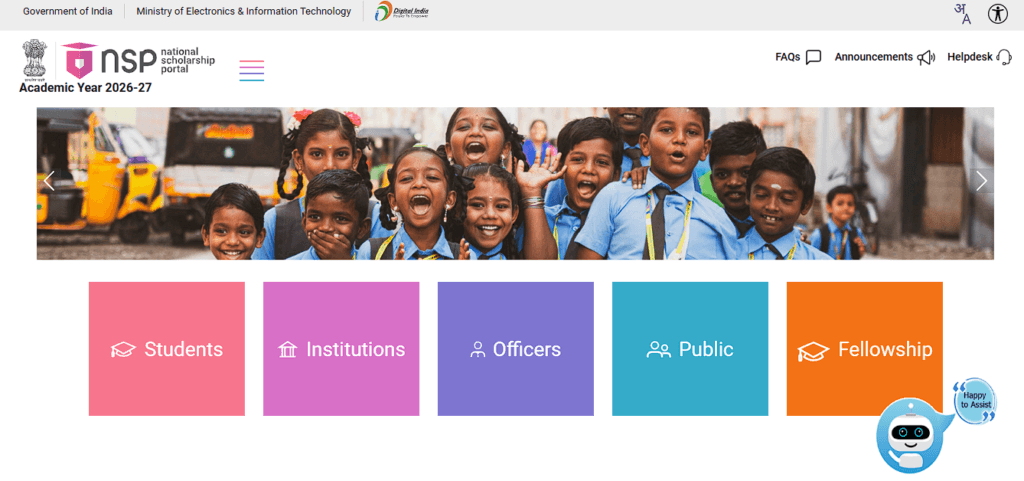
Step 2: Apply for a scholarship
- Log in to the NSP portal using either your OTR ID or directly via Aadhaar login.
- Click on “Apply for Scholarship.”
- Choose whether you’re submitting a fresh application (new students) or a renewal (returning beneficiaries from a previous year).
- Select the specific scheme you’re eligible for from the list the portal suggests based on your profile.
- Fill in the application form carefully — since you’re logged in via OTR/Aadhaar, most of your basic personal details are pulled automatically, so you don’t need to re-enter them.
- Upload the required documents — make sure scans are clear and valid, since blurry or incorrect documents are one of the most common reasons applications get rejected at the verification stage.
- Double-check every detail before submitting — once submitted, your application goes through institute-level (INO) and then district/state-level (DNO/SNO) verification, so errors caught early save you a lot of back-and-forth later.
- Click Submit Application to complete the process.
Before you hit submit: check your bank seeding status
This is one of the most common reasons students don’t receive their scholarship money even after approval — an unlinked or improperly seeded bank account. Since all payments go through DBT, funds are sent to whichever account is mapped to your Aadhaar in the NPCI mapper — not necessarily the account you think you’ve listed on the form. Use the “Check Bank Seeding Status” tool on the NSP homepage before final submission to confirm your account is actually ready to receive the transfer.
How to track your application status
Once submitted, you don’t have to wonder where things stand — the portal lets you track everything:
- Go to the NSP Application Status section on the homepage.
- Log in with your OTR ID or Aadhaar credentials.
- Check whether your application is submitted, under institute verification, approved, or has moved to the payment stage.
- Check back periodically, since your status can change at each verification level — and if something needs correction, you’ll typically see that flagged here too.
Common issues and how to fix them
- Registration errors — double-check for mismatched Aadhaar details or missing fields; small mismatches are a frequent cause of failed verification.
- Application stuck at verification — this usually means your institute or district office hasn’t processed it yet; persistent delays are worth following up on directly with your institution’s nodal officer.
- No payment despite approval — almost always a bank-seeding issue. Recheck your Aadhaar-linked account using the seeding status tool.
- Can’t log in / OTP not received — check your mobile network connectivity and wait a few minutes before retrying, since delays in OTP delivery are common during peak application periods.
- Persistent technical problems — reach out to the NSP helpdesk or check the FAQ section directly on the portal.
Frequently Asked Questions
In short: applying for a scholarship on NSP now starts with a One-Time Registration (OTR) — a permanent 14-digit ID tied to your Aadhaar — after which you can browse and apply for eligible scholarships directly, upload your documents, and track your status right through to payment. The most common reason students miss out on their money isn’t rejection — it’s an unlinked bank account, so checking your Aadhaar seeding status before you submit is worth the extra two minutes.